
Mastering the Art of Sew-In labels for clothes: Tips and Tricks for Long-Lasting Identification with Cash’s Labels
Cash’s sew-in labels for clothes are designed to withstand regular wear and tear, ensuring that your clothing items are always properly identified. When it comes to labelling your clothing items, durability and longevity are essential. In this blog post, we will provide you with helpful tips and tricks on how to securely sew on clothing labels made in Australia for different types of garments. By following our instructions, you can ensure that your clothing labels stay in place, allowing for easy identification and preventing loss or mix-ups.
1. Gather Your Supplies to sew in labels for clothes:
To begin sewing labels onto your clothes, you’ll need a few basic supplies. Prepare approximately 30cm of thread, double over, and a fine needle. You can find basic sewing kits at major department stores for just a few dollars. Having these items on hand will make the process more convenient and efficient.
2. Determine the Ideal Placement to sew in labels:
The placement of your sew-in labels for clothes depends on the type of garment and its intended purpose. In some cases, such as boarding schools or aged care facilities, specific guidelines may be provided. However, for general use, we recommend the following placements:
Shirts: Sew in the label under the collar, inside the shirt. This placement ensures that the label is discreetly hidden while still being easily accessible when needed.
Pants: Attach the label just underneath the belt loops, at the back, inside the pants. This location helps maintain a neat appearance while preventing the label from rubbing against the skin.
Hats: Sew in the label inside the brim, at the back of the hat. This position keeps the label securely in place without affecting the hat’s comfort or style.
Socks: Choose between two options. You can either sew the label into the end of the toes or create a loop at the opening of the sock. Both methods offer reliable attachment and prevent the label from slipping or unravelling.
3. Use Pins for Precision while you sew in labels for clothes:
If you have pins available, it’s recommended to use them to temporarily secure the label in place before sewing. Pinning the nametape allows you to preview its final position and make adjustments if necessary. This step ensures that your label will be positioned correctly before you start sewing.
4. Sew in Process:
To sew in the label, begin by turning the garment inside out. This step allows you to sew through the fabric without the stitches being visible from the outside. Thread the needle with the doubled-over thread and tie a knot at the end.
For shirts: Start sewing from inside the shirt, going through the label and the fabric. Create small, tight stitches along the edges of the label, ensuring it is securely attached.
For pants, hats, and socks: Follow a similar process as with shirts. Begin sewing from inside the garment, going through the label and the fabric. Use small, neat stitches along the label’s edges to achieve a strong attachment.
5. Finishing Touches:
Once you have sewn along the entire label, tie a knot on the inside of the garment, close to the label. Trim any excess thread to ensure a clean finish. You can repeat the process for multiple labels or garments, following the same guidelines.
Conclusion:
By following these tips and tricks, you can confidently sew in your Cash’s labels, ensuring they stay securely attached to your garments. Properly placed and sewn labels help you easily identify your items, prevent loss of your belongings, and avoid mix-ups. With a little effort and attention to detail, you can enjoy the long-lasting identification provided by Cash’s sew-in labels for clothes.
Remember, each garment may have specific considerations for label placement, so always refer to any guidelines provided by schools, organisations, or care facilities. To learn more about Cash’s personalised clothing labels and explore our wide range of options visit Cash’s for high-quality personalised clothing labels.
FAQ

Get 5% off your first order. We will also update you with new offers and discounts.
Recent Posts
The Best Dog Walking Parks in Victoria: A Guide from Cash’s
G'day, fellow dog lovers! If you're looking for the best spots to take your [...]
Name Labels: The Secret Weapon Against Lost Belongings
Kids Name Labels make the hectic back-to-school season a breeze. In this season one [...]
Why Every Stylish Traveller Needs a Personalised Luggage Strap
Introduction Travel luggage strap isn’t just about functionality—it’s about [...]
Stainless Steel Water Bottles: The Ultimate Guide To Staying Hydrated!
Why Stainless Steel Water Bottle? Right, listen up! We all know [...]
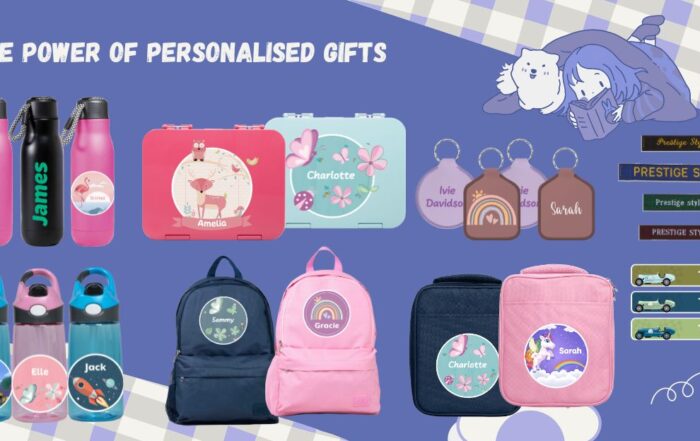
Ditch the Generic | The Power of Personalised Gifts | Cash’s
Is Personalising Gifts a good idea? Personalised gift is a great way to show [...]
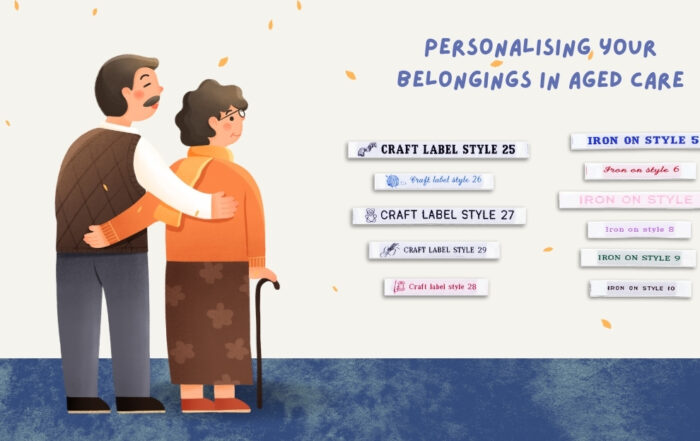
Personalising Your Belongings in Aged Care with Cash’s Solutions
Personalising Your Belongings in Aged Care Moving into an aged [...]

Tips and Tricks for Sew in Clothing Labels: Ensuring Long-Lasting Identification
Mastering the Art of Sew-In labels for clothes: Tips and Tricks for Long-Lasting Identification [...]

